As many of you know, I’m very into sustainability, and diy jobs.
Gardening is one of my favorite hobbies, as many of my readers know. A lot of people have messaged me about seedlings and getting them from seedling container to the garden. Thus, this post was created.
Though this is targeted towards beginners, you might find some helpful info even if you’re a pro.
Keep it simple!
If you’re brand new to this, then begin with just a couple of plants that are easy-to-do. Marigolds and tomatoes are plants which are considered to be quite simple to grow. Basil is an excellent herb to begin with (especially inside).
Seedlings need lots of light
You probably saw this one coming.
All small plant babies need lots of light. If your seedlings don’t get light, they’ll be weak as full grown plants. Don’t deprive them—think in terms of 15 hours of light a day. Plant lights can really help with this.
If you’re growing inside subsequently select a south-facing window. You can even help seedlings with timers and plant lights to ensure they get enough. Select the side of your home which gets the most sunlight, if you’re planting outside.
It’s all about time
So, many of you may be beginning with your seedlings inside—it’s understood to be simpler as far as weather direction and keeping them in average temperatures.
Your seed packages will let you know when to begin the seeds inside and when you’re able to put the seedlings outside (typically 6-8 weeks indoors).
Nevertheless, veggies like squash and beans are began outside, rather than indoors. In this scenario, the package may let you know when and how to plant.
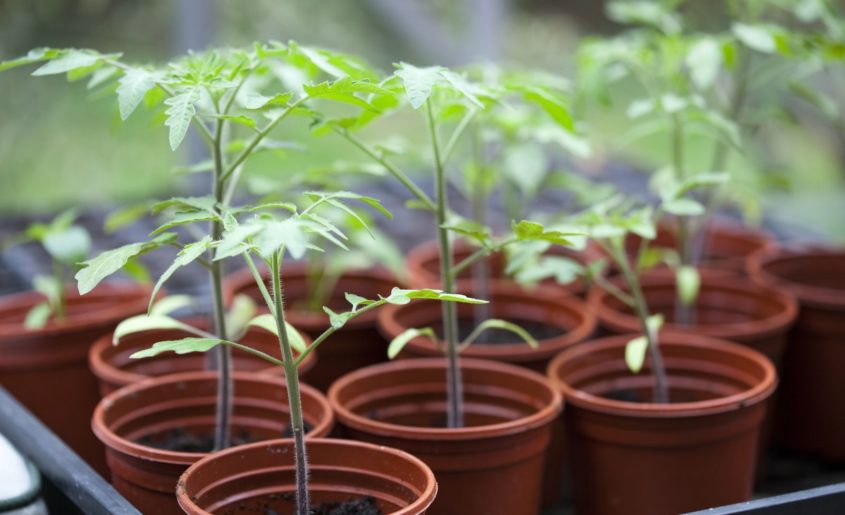
From Seedling to Plant
Thus let’s say that you’re then transferring them outside to your garden and beginning your seedlings inside.
There are 6 simple steps you can follow to the successful growth of your plants.
- Choose a container for success: Usually you would like to start with something about 2-3 inches deep . Additionally, you want drainage holes that can discharge the additional water. Since I adore my DIY jobs and upcycling things, I like to utilize old yogurt cups or paper cups and decorate them. Nevertheless, you can get a seedling tray from your local plant store.
- Get the proper kind of potting soil: There are specific soils that are great for growing seedlings. Using any old soil from old potted plants or your garden won’t cut it. The right soil will give your plants a proper head start. Pour the soil into damp containers. Additionally, utilize a liquid fertilizer for your seedlings until you get them into your garden while they grow.
- Plant it right: Some seeds need depth, others you’ll be able to scatter on top. Each plant differs. I like to employ a spray bottle to water the seedlings so the water does them overwhelm or break them. Make use of a plastic wrap covering to cover the seeds to help in keeping them damp with the condensation. Remove when the greens begin peaking their heads throughout the soil.
- Feed well: Use the correct soil, mist the plants with healthy amounts of water, and don’t let the dirt get soggy. Dry out the soil between waterings. I use a fan to circulate the air around the seedlings and keep things dry. It works great in tandem with indoor plant lights.
- Light: Light continues to be significant throughout the life of a plant. Rotate the pots so that the plants grow straight and don’t lean towards one direction. Put your plant light several inches over the tops of your plants. I place my lights on a timer for 15 hours a day. Darkness is needed for your seedlings, so don’t set the light on them 24 hours a day.
- Slowly transfer your seedlings to your garden: by putting your pots outside for a couple of hours a day, transition your plants slowly and bring them in during the night. Over about a week you’ll wish to expose them to more and more each day until you can plant them in the garden.
Common Issues
Some of my seeds didn’t germinate—what occurred? A lot of things can cause this to happen. Dig one of your seeds up and analyze it. In the event the seed is soft and bloated, it’s rotted and you would need to start over. Rotting occurs when the ground is chilly and too wet. If the seed dried out then it probably didn’t get enough water or the seeds were too old to take root.
My plants are spindly and poor—what should I do? Plants that are spindly aren’t getting enough light. Supplement grow lights to help to keep your plants growing stronger. Warmer temperatures may also cause spindly plants. Keep them in a cooler room or lower the room temperature.
The plants were growing well until the unexpectedly toppled over—why? Fungus in the soil generally causes this toppling. It’s called damping off. It’s difficult to eliminate it after it’s in the soil. To prevent it, provide good air circulation and use potting soil that is great.
There is mold on top of my soil—is this bad? The existence of mold means the ground is too wet. The simplest thing you can do is withhold water for several days (until it’s dried up), and increase air circulation around your plants. If this doesn’t work, you can scoop off the mold and transfer the plants into healthy soil.